Balloon Photography Rig
You are here:
Andrew Ho >
Balloon Photography >
Rig
This page documents the line, reel, gondola, and Picavet suspension
system that I use for balloon aerial photography. Most
of my design is totally stolen from
Paul
Illsley's Kite and Balloon Aerial Imaging page.
Kite Line Reel
To tether the balloon, I chose a fairly lightweight kite line:
1,000 feet of 50
lb. Ashaway Braided Dacron Kite Line ($20 + $8 shipping from
Into The Wind Kites).
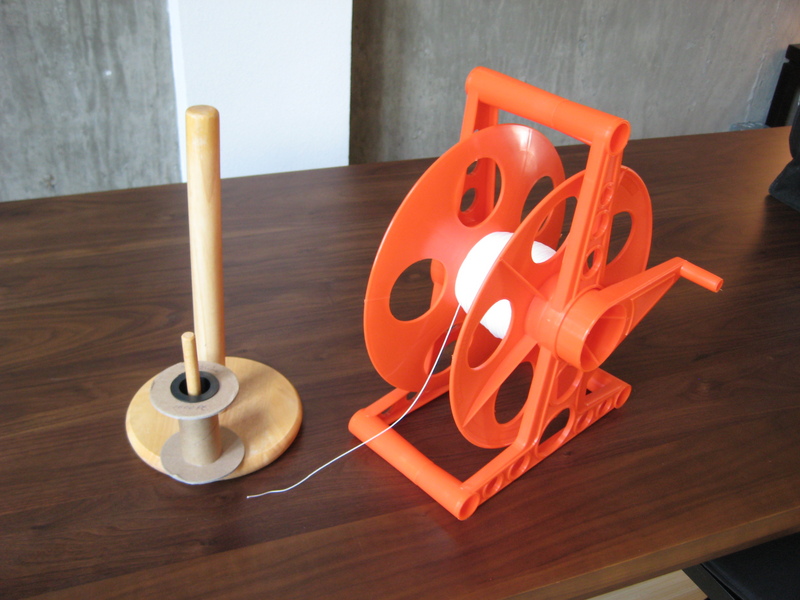
The kite line ships on a tiny cardboard/plastic reel. Being able to wind
and unwind quickly is useful, so I bought a
Bayco K-100
150-foot cord reel ($12) for that purpose.
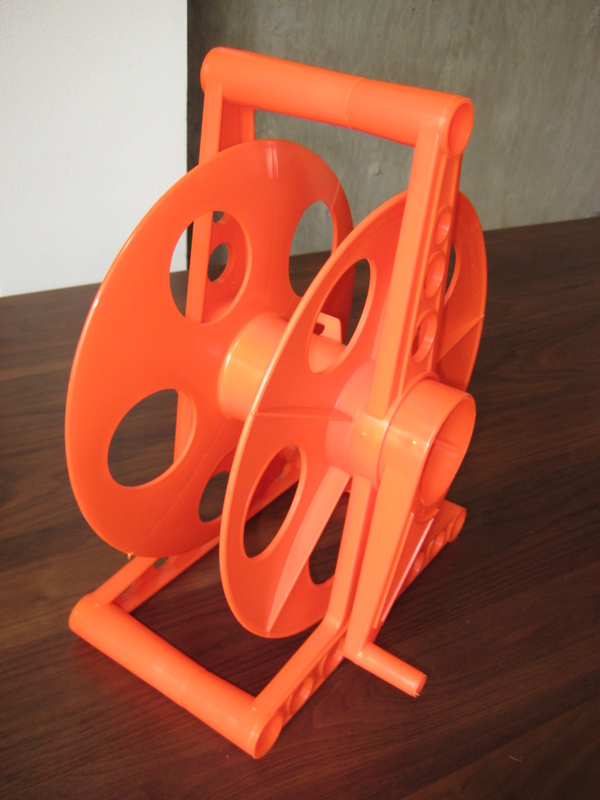
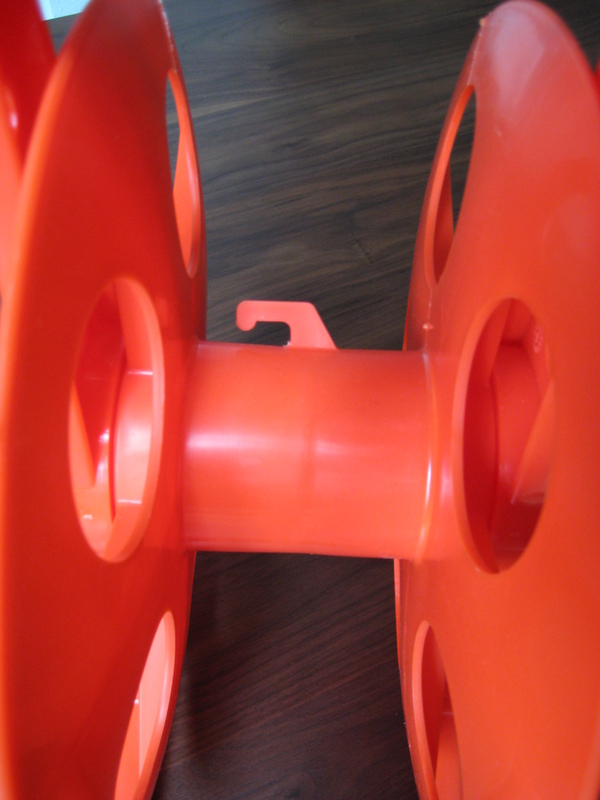
The cord reel comes with a hook for securing an extension cord, which
would just snag the kite line, but a little hacksaw and sanding film
work took care of it.
|
|
|
|
|
| Extension cord reel. |
The cord reel includes a hook, which needs to be removed to avoid snagging the kite line. |
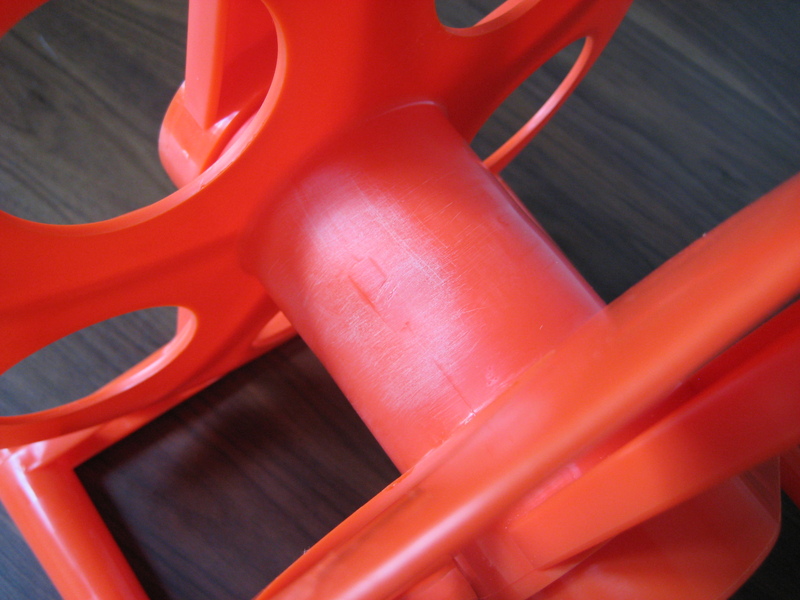
Hook removed via liberal use of hacksaw and sanding film. |
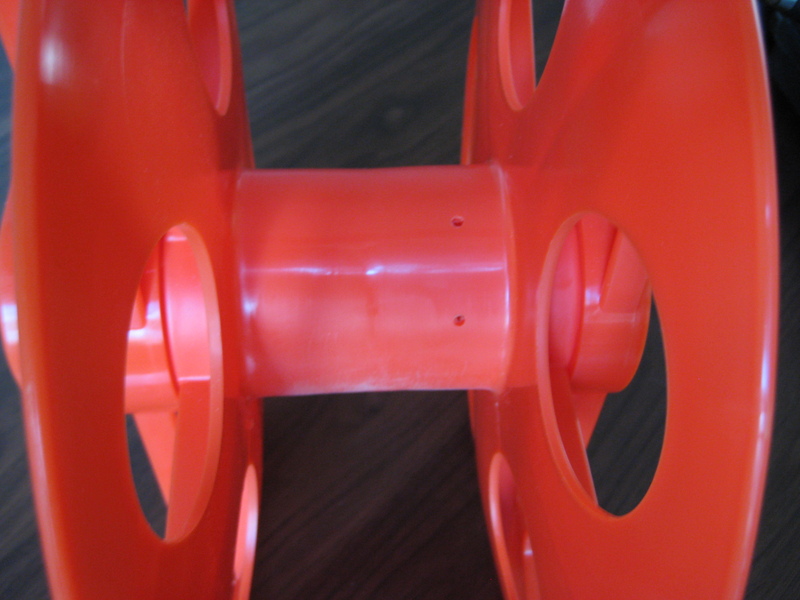
Vampire holes drilled into the cord reel barrel, for anchoring the kite line. |
|
|
|
|
|
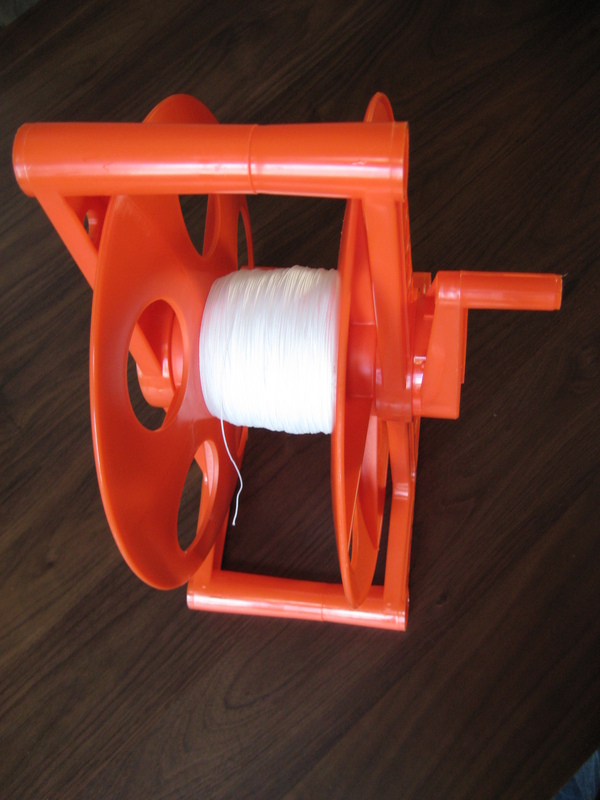
| A sophisticated loom setup (an old paper towel holder) for transferring the kite line. It took a while! |
The cord reel, loaded with 1,000 feet of kite line. |
|
|
Camera Gondola
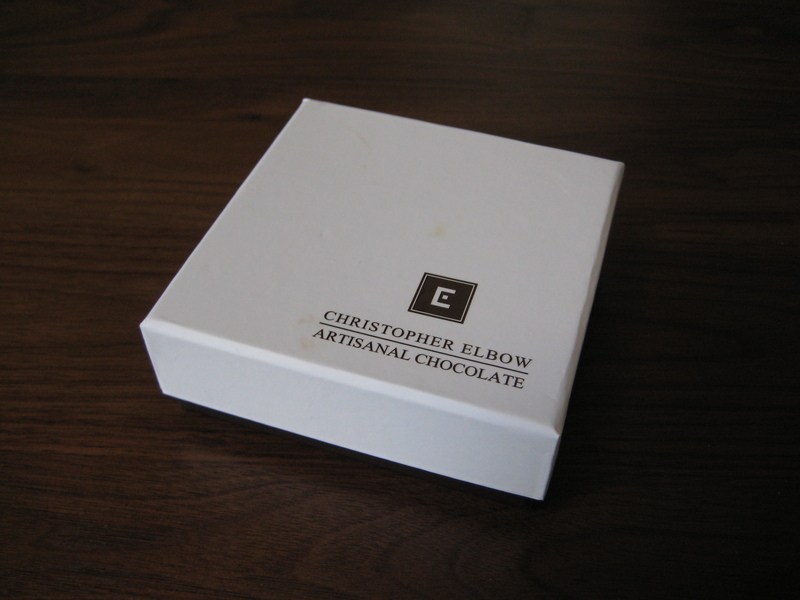
Some people hang the camera directly from a harness, but I chose to
build a gondola for it. I found a perfect sized box in a
9-piece
chocolate selection from
Christopher Elbow Chocolates,
which happens to be not far away in Hayes Valley. To nestle the camera
in the box and to cushion it, I bought some
Pelican
1151 Pick-N-Pluck Foam ($11), designed for cushioning cameras or
guns in Pelican hard cases.
|
|
|
|
|
| A box of delicious (and expensive) chocs. (Step 1: get a box.) |
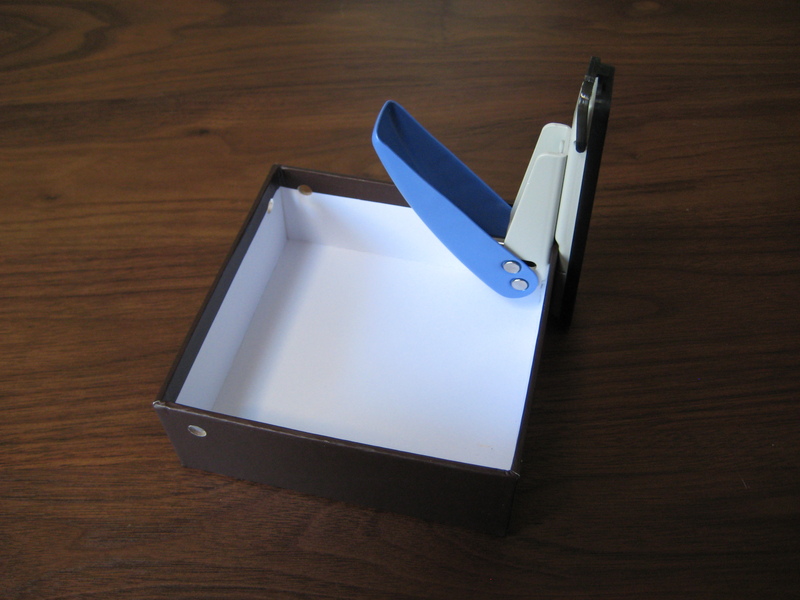
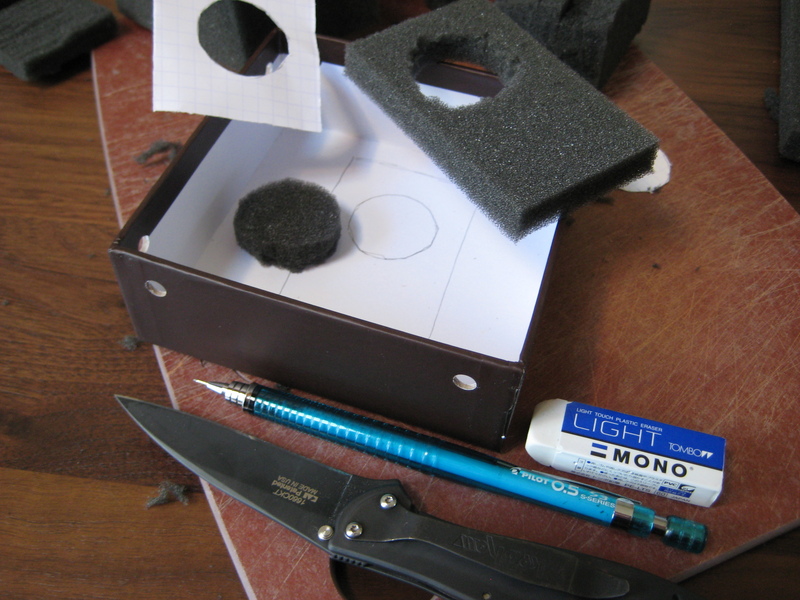
Punching holes into the side, for mounting the pulleys for the Picavet balancing system. (Step 2: put a hole in that box.) |
Foam padding for Pelican cases. |
Slicing the foam to fit. |
|
|
|
|
|
| (Step 3: put your foam in that box.) |
Pelican case foam is prescored into little cubes ("Pick 'n Pluck"). Pulling the cubes out is hard work! I ended up just slicing it all the way through. |
Cutting a porthole into the foam and the box, for the camera lens to protrude. |
|
Note: cutting shapes into foam is really hard! Straight, large, cuts
are easy—use a bread knife or other serrated blade, and cut with a
gentle sawing motion. Cutting through the Pelican "Pick 'n Pluck" foam
was also pretty easy with a regular non-serrated pocketknife. Cutting
out the circle for the camera lens was torturous.
Picavet Leveling System
A Picavet is an ingenious pulley-and-pendulum system that
creates a self-levelling platform. Aside from the excellent instructions on
Paul
Illsley's Kite and Balloon Aerial Imaging page, you can find more
Picavet links here:
For pulleys, I bought four
PeKaBe
515 single-block pulleys (at $44 + $6 shipping, the most expensive
part of the entire rig!). For the middle ring, I bought a $5 stainless
steel ring from a local bead shop
(Global Beads in Mountain View).
|
|
|
|
|
| PeKaBe pulleys, intended for model ship rigging. |
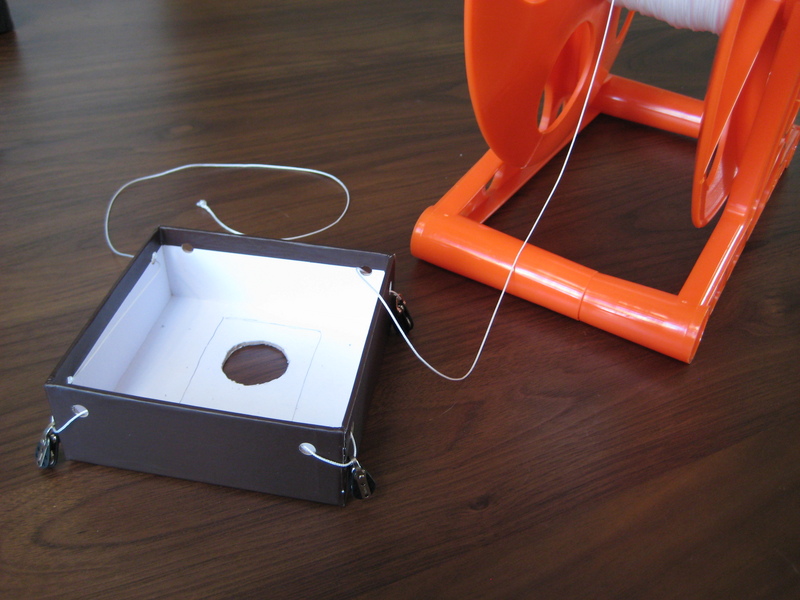
Threading the pulleys through the holes in the box. |
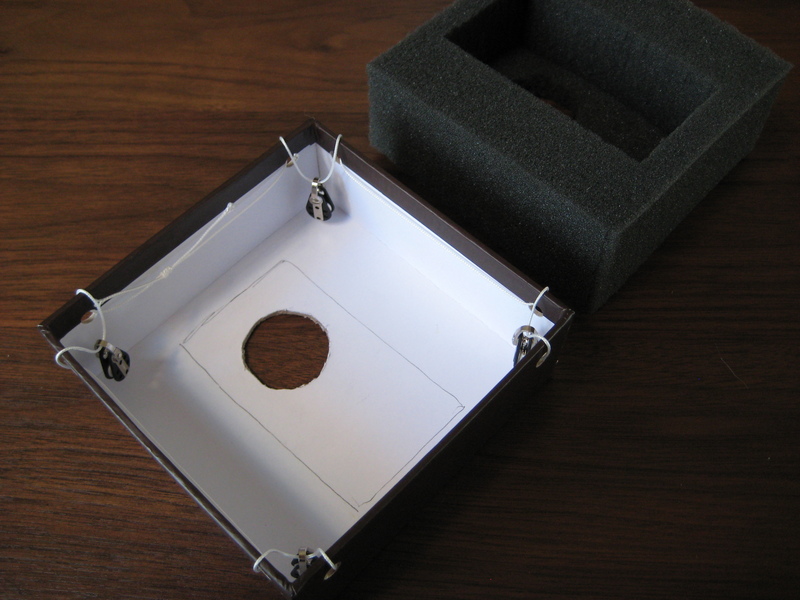
Pulleys are attached! |
The completed Picavet balancing system. |
Note that unlike a traditional Picavet, I'm using a box instead of a
cross (you get the same result, but it's one less component I had to
build). Instead of securing each pulley independently by tying a string
or zip-tie to each corner, I just made a loop. For both the pulley loop
and the Picavet itself, I used a
Double
Fisherman's bend knot.
The entire Picavet, gondola, and camera setup weighs in at around
200g, which is ridiculously light. I could probably have gotten
away with a much smaller balloon.
Andrew Ho
(andrew@zeuscat.com)
| 


